The upload and download speed of the internet has improved dramatically in the past few years. However, some of us still have internet troubles every day where the internet stops working or the speed of the connection is very poor. In such cases, we often wonder whether it’s the internet slow problem or any other thing. Fortunately, internet speed meter tools come in handy.
The tools show the latency, and download speed of your internet connection. With them, you can easily keep an eye on your internet speed and know when it drops.
In this article, we take a look at how to monitor your internet speed on your Windows PC. Read on!
Display Internet Speed Meter on Taskbar with NetSpeedMonitor
To view the internet speed on the taskbar of your Windows PC, you’ll need to download a software named NetSpeedMonitor. If you’re on Windows 10, your system will stop the installation with a message saying “Operating system not supported”. This is because the app was primarily designed to operate on Windows XP, Windows Server 2003, Windows Vista and Windows 2007.
However, that doesn’t mean it won’t work on your Windows 10 PC. For that, you’ll need to run the app in compatibility mode, which we’ve explained in detailed steps below.
Step 1: First and foremost, you need to download the app from this link (https://www.softpedia.com/get/Network-Tools/Bandwidth-Tools/NetSpeedMonitor.shtml). You’ll get two download options: x86 and x64. The former is for a 32-bit Windows system and the latter is for a 64-bit Windows system. Download the correct version as per the system type of your PC.
Tip: If you don’t know your Windows system type, you can easily check it by opening ‘This PC’ folder on your Windows PC and right-clicking anywhere. Then select ‘Properties’ and check under ‘System’ type.
Step 2: Go to the folder where you’ve downloaded the app file. If your system is running Windows 7 or lower, the installation process will start normally. Anything above it will show the operating system not supported. Don’t worry. You can easily install it on Windows 8 or above by tweaking certain things.
Step 3: Right-click on the setup file (for example, netspeedmonitor_2_5_4_0x64_setup.msi) and go to Properties.
Step 4: Now Click on the Compatibility tab, and check the box in front of ‘Run this program in compatibility mode for’. The dropdown will show ‘Previous version of Windows’. Click on OK to save the changes.
Step 5: After this, double click the setup file to start the installation process and follow the on-screen instructions to complete it.
Step 6: Note that you won’t be able to see the internet speed directly after installing the NetSpeedMonitor app. You’ll need to enable the program first.
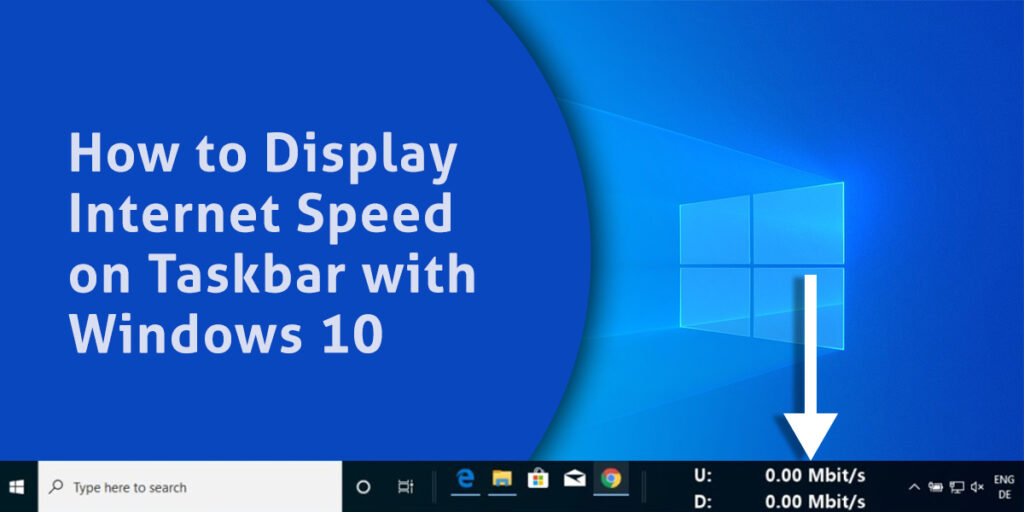
Step 7: To enable the program, right-click anywhere on your taskbar and hit the Toolbars option. Then select NetSpeedMonitor. After enabling, you will see the upload and download speed on your taskbar.
Some NetSpeedMonitor Tips and tricks you should know
Here are some tips and tricks to make the most of the NetSpeedMonitor tool:
View data usage
Along with showing the current internet speed, the NetSpeedMonitor also allows users to track data usage. To view your data usage, right-click the NetSpeedMonitor meter on the taskbar and hit Data traffic.
Change speed unit
By default, NetSpeedMonitor indicates the internet data speed in Kilobits/second (Kbits/s). To change it to other metrics like Kilobytes/second (KB/s) or Megabits/second (Mbit/s), right-click on the NetSpeedMonitor on the taskbar and hit Configuration. Then choose the speed unit you like from the dropdown box available next to Bitrate.
Customize Tool Font
For users who like fiddling with fonts, NetSpeedMonitor allows them to customize the font style and size. For that, go to Configuration and then Layout. Here, you can choose the font as per your preferences.
Change double click action
By default, Double-clicking the NetSpeedMonitor tool on the taskbar allows users to enable and disable the monitoring. However, you can customize it and use it for action of your choice. To change it, go to Configuration and select the appropriate option that you want to assign to Double Click.
Export database
As NetSpeedMonitor records everyday data usage, it’s possible for users to export its database. For that, go to Configuration, then Database and then Export Wizard.
Display Internet Speed on the taskbar with DU Meter
Another great tool to display internet speed on the taskbar of your Windows PC is DU Meter. The tool is free to download and use for a period of 30 days. After this, you’ll need to purchase a license which is priced around $10.
Follow the below steps to show internet speed on your Windows PC taskbar:
Step 1: First and foremost, you need to download the DU Meter app (https://www.hageltech.com/dumeter/about). Then navigate to the download location of the app and click on the installer file to install it.
Step 2: Once installed, the app will open and show a message. Here click on the “Next” button to proceed. On this page, DU Meter will provide an insight into its interface and how the software works. The tool is compatible with Windows Vista, Windows 7, Windows 8, and Windows 10. After going through the on-screen information, click on the “Next” to proceed.
Step 3: On the next page, you can set a data limit for your monthly usage. Once your internet usage passes the set limit, DU Meter will inform you. You can enter the limit here or opt to configure later in the app’s setting. After this, click on “Next” to proceed.
Step 4: Then a page will appear that details the steps to use DU Meter on multiple Windows PCs and generate a cumulative report. Click on “Skip” to proceed.
Step 5: Now, click on the “Finish” button to complete the setup process.
Step 6: Once you’re done with the setup process, a pop up asking you to enable the DU Meter toolbar on Taskbar will appear on your screen.
Step 7: After this, DU Meter will start tracking your internet usage and show the internet speed on the Windows Taskbar. Also, a floating graph showing additional information will be displayed in the taskbar.
For users who want more from the tool, they can click on the DU Meter window to reveal several options. Out of the three menus at the bottom (Network, LAN and Programs), the “Programs” menu will display the list of apps that are accessing the internet with the amount of data they’re consuming. This is a great feature for users who want to quickly find the app or software which is consuming the most amount of data.
Also, there’s a minimize and close buttons at the top. The former allows users to minimize the window to the top of their screen. This is a great way to check your internet speed without having to look at your taskbar.
If you don’t like the floating window, you can click on the “close” window to close it. You can open it again by opening the “System Tray” and clicking on the DU Meter app icon. Also, you can right-click on the “System Tray” icon to access other options like reports, administrator options, user options, and more things.
Using built-in speed checker in Windows
If you don’t want to download a third-party app to track your internet speed, you can use the network analyzer feature onWindows 10. Here are the steps to use it:
Step 1: First, you need to open Task Manager on your Windows 10 PC. For that, right-click on the Taskbar and select Task Manager.
Step 2: In the Task Manager, navigate to the Performance tab and click on Wi-Fi. Here, you can check your internet speed.
Step 3: After this, click on Options and select Always on Top.
Step 4: Right-click on Wi-Fi in the performance tab and choose Summary View.
Step 5: Now all you have to do is drag the window to the right of your favourite location and minimize it in such a way that only the Wi-Fi area is visible.

Other Internet Speed Meter apps and sites for Windows PC
Network Speed Test
For users looking for a simple speed meter app, the Network Speed Test app would be a great choice. You just have to launch the app once it is installed and click on the Start button to see your network latency along with download and upload speed.
The app also comes with a history table on the right that allows you to see the results of your previous tests. Moreover, the app has labels next to certain speed values. Labels like high-quality video, video calls will indicate what kind of activity your internet connection can handle.
Pros:
- Simple and easy to use interface
- Offers speed test history
Cons:
- Can’t change the testing server
- No taskbar icon or widget
Speedtest by OOKLA
The popular speed test website speedtest.net has a dedicated app to monitor internet speed on Windows 10. The app comes with a simple interface and is quite easy to use. Once you’ve installed it on your system, click on the Go button to start the speed test. The result will show your Internet Service Provider (ISP) name and the download and upload speed of your internet connection.
As you might guess, the app also records the result history. To view that, all you have to do is click on the settings icon at the top. One of the best parts of using this tool is that the app data size resizes itself when you change its size.
Pros:
- Shows history
- Works well with Windows 10
Cons:
- No widget or taskbar icon
- Doesn’t lists the app using data
SpeedConnect Connection Tester
SpeedConnect Connection Tester is another great Windows app that allows users to test their internet speed with just a single click. After installing this tool, all you have to do is click Run New Test Button and you’ll be able to see your download and upload speed in real-time.
The tool seems to download a specific file in the background and uses it to test the speed of your internet connection. If you want, you can change the Test Server URL and set a different file to be used for testing your internet speed. In addition to speed and latency, the app also shows other information like the duration of your speed test and the file size.
Speed Checker
Speed Checker is a universal app that comes with a decent interface and allows you to quickly test the speed of your internet connection. Like other internet speed meter tools, it shows all the relevant information such as latency, download speed and upload speed.
There are several servers available for speed testing on the Speed Checker app, but you can’t change the servers manually in the Free version. Note that the app also features ads and you’ll need to purchase a premium version to remove them.
SpeedSmart
SpeedSmart is an HTML5 Internet speed tool that offers all the relevant information such as download and upload speed, as well as your ping information. For users who want to optimize their connection for gaming, SpeedSmart offers a series of advanced settings that allows you to get the best of your internet connection. Also, it’s possible to keep a track of your internet connection thanks to the detailed SpeedSmart’s history list, chart and stats tools.
SpeedSmart has all the necessary internet speed test features, so it’s used by millions of users across the globe. If you don’t want to use the web service, you can also download the SpeedSmart Windows 10 app.
SpeedOf.Me
SpeedOf.Me is a web service that allows users to test the speed of their internet connection. The service doesn’t require Flash or Java to be installed on the PC, which can be a great thing for many users.
The testing process will offer a live chart that shows the download and upload speed. Also, the tool will show your latency and you can export your testing results as an image, PDF or CSV file. The only flaw with this tool is the lack of ability to choose a testing server, meaning you’ll always be using the server for testing.
Bandwidth Palace
Bandwidth Palace is another web service that allows users to test their internet speed. With the tool, you have the option to choose several different tools for testing. All the relevant information, such as latency, upload and download speed are shown during the test.
Bandwidth Palace uses HTML5 for testing, which means that it will work on any Windows browser. Also, you can easily share a link of your results after testing.
Fast Internet Speed Test
This is another universal app that allows users to test their internet speed. As soon as you start the app, you can see your download speed in real-time.
Note that information such as upload speed or latency is not available. Also, there’s no option to choose the server. So, if you’re looking for a simple app with limited functionality, Fast Internet Speed Test might cater to you.